To iron on a patch, place it adhesive-side down on clean, flat, dry fabric, press it through a thin cloth using the heat and time in the patch’s instructions, and let it cool completely before touching it. Most patches peel because of too little pressure, the wrong fabric or too much heat. This guide shows how to iron patches on properly, including embroidered ones, and how to fix a lifting edge.
What are iron-on patches?
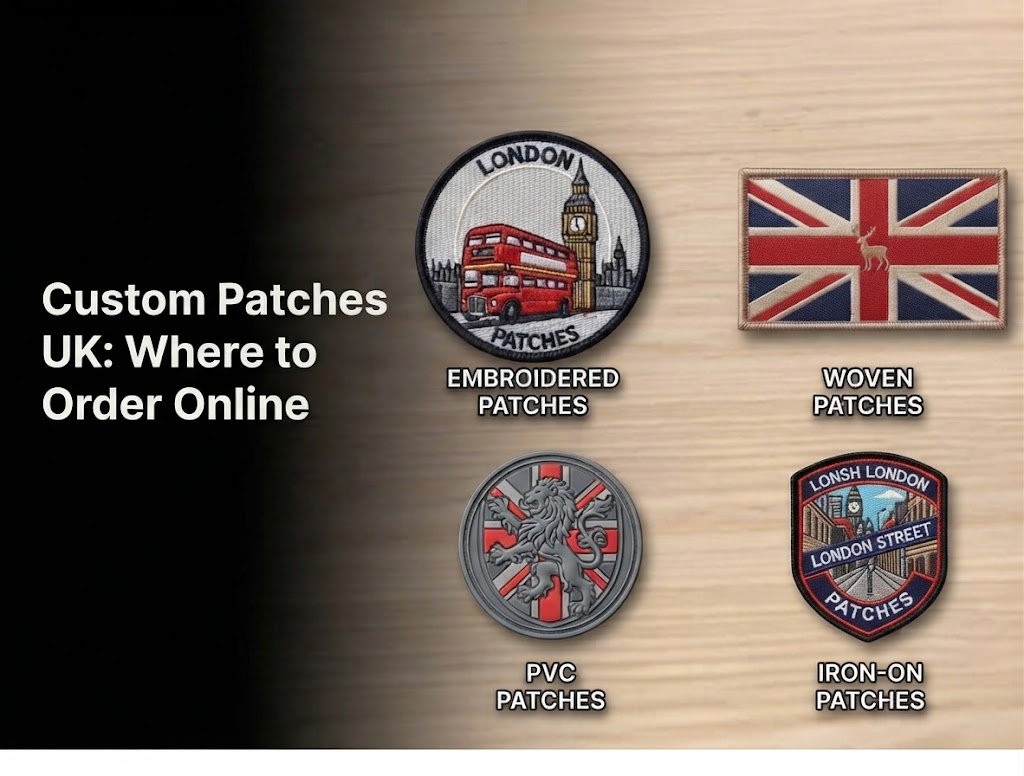
Iron-on patches are fabric badges with a heat-activated adhesive on the back. The iron softens the adhesive, pressure pushes it into the weave, and it sets as it cools. Still choosing a design? Browse iron-on patches from Stitch Patches UK.
What you need
An iron with adjustable heat, a firm flat surface such as an ironing board, a thin cotton pressing cloth, heat-resistant tape, and a piece of card or folded cloth to slide inside sleeves, bags and T-shirts.
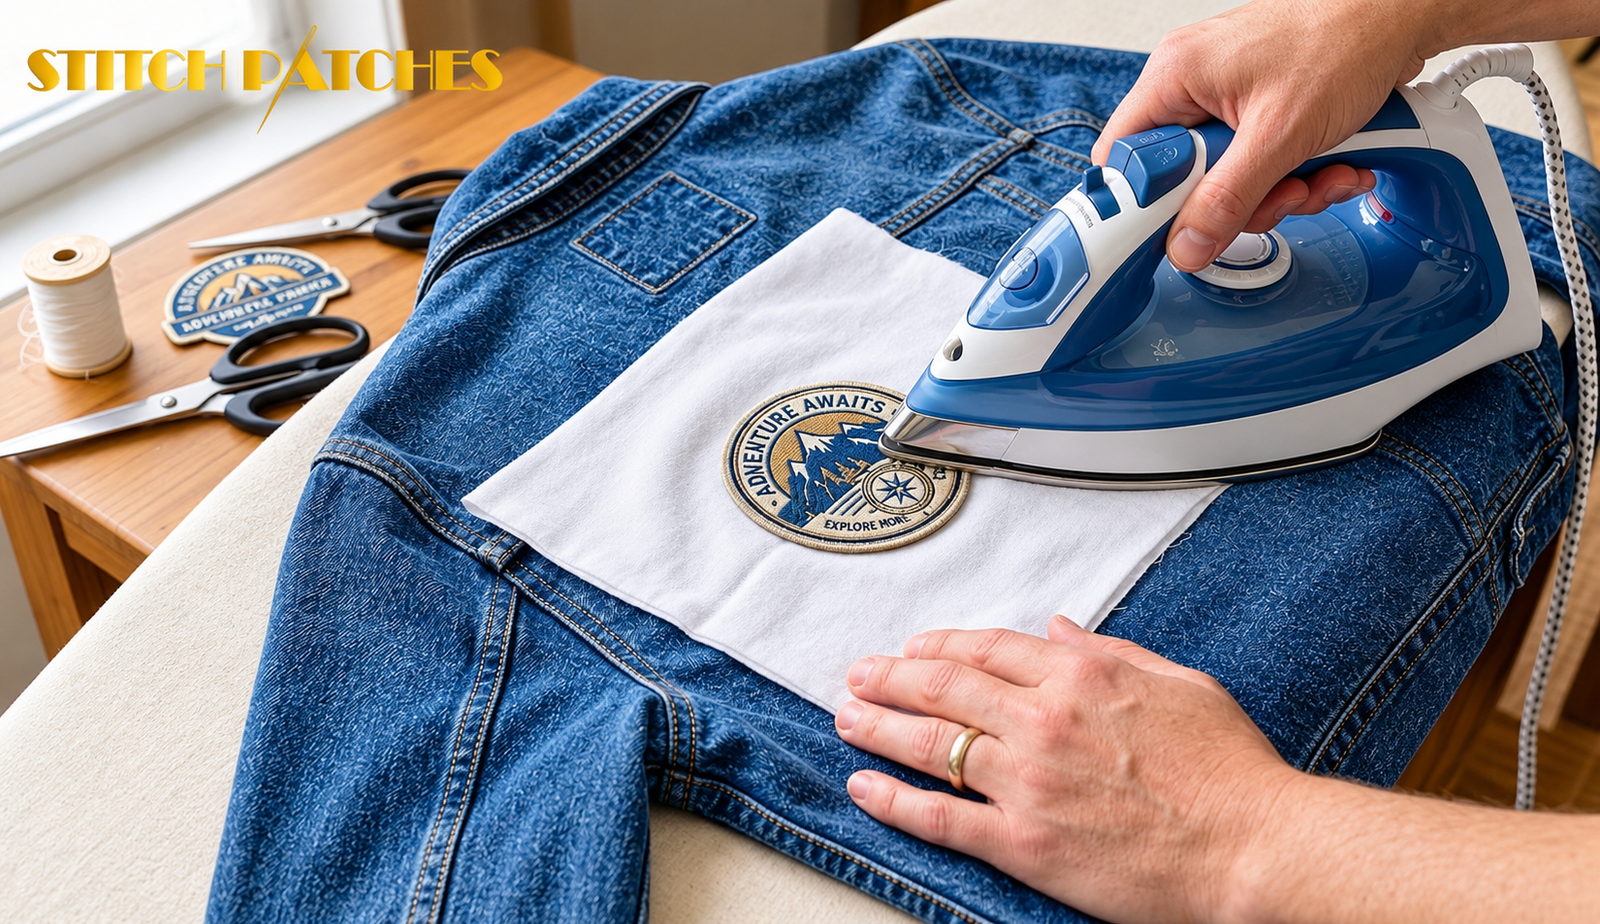
How to iron on a patch step by step
- Read the patch instructions and the care label. They set the heat, the time and whether to use steam.
- Prepare the garment. Wash and dry it first, without fabric softener, and smooth out creases.
- Choose a flat spot away from seams, zips, pockets and areas that stretch or bend, such as knees and elbows.
- Protect the layers. Slide card inside so the adhesive can’t bond the front of the garment to the back.
- Position the patch adhesive-side down and secure it with heat-resistant tape.
- Preheat the iron to the recommended setting, not simply the hottest, which can scorch fabric or distort the patch.
- Cover and press. Lay the cloth over the patch and press straight down, firmly, for the recommended time. Don’t slide the iron. For a patch larger than the soleplate, press in overlapping sections.
- Cool completely, then check the edges. If a corner lifts, re-press it through the cloth.
What temperature and time should you use?
There is no single temperature or pressing time that suits every patch, because adhesives and fabrics differ. Follow the patch maker’s instructions and never exceed what the care label allows: more dots in its iron symbol mean a higher permitted heat, and a crossed-out iron means do not iron. If the patch needs more heat than the fabric can take, sew it on. With no instructions, test on a spare offcut, starting low and raising the heat in small steps.
How to iron on embroidered patches
An embroidered patch (sometimes called an embroidery patch) goes on the same way, but the raised stitching needs protecting:
- Always press through a cloth, as direct contact can flatten the thread.
- Press down rather than sliding, which can snag stitches.
- On thick borders, if the instructions allow, turn the garment over after the first press and press from the back with the patch face-down on a folded towel.
- Check the border once cool. It is where lifting usually starts.
Which fabrics and garments suit iron-on patches?
Patches grip best on smooth, tightly woven, heat-tolerant fabrics such as cotton, denim and canvas. Test cotton blends first. Avoid stretch fabrics, leather and faux leather, waterproof or coated fabrics, nylon and other heat-sensitive synthetics, pile fabrics such as velvet and fleece, delicate silk and satin, and quilted or padded items.
- Jeans and denim jackets: put card inside the leg or sleeve, and stitch the edges at knees and elbows.
- Other jackets: check the shell and lining. Waterproof coatings and padding often rule out ironing.
- T-shirts: avoid necklines and hems, and sew patches onto stretchy tops.
- Bags: cotton or canvas totes usually work. Avoid plastic coatings and nylon.
What if the patch lifts or won’t stick?
Resist the urge to turn the heat up. The usual causes are too little pressure or time, an unsuitable fabric, damp or dirty fabric, or moving the patch before it cooled. Let it cool, cover the lifted area with the cloth and re-press once, following the instructions. If it still lifts, stop reheating, as repeated heat may mark the fabric, and stitch around the border with small, even stitches in matching thread.
How to wash clothes with iron-on patches
Wait as long as the patch maker recommends before the first wash. Then turn the garment inside out, follow its care label, and air-dry where possible, as tumble-dryer heat may soften the adhesive. When ironing the garment later, press it inside out or through a cloth.
When is sewing better than ironing?
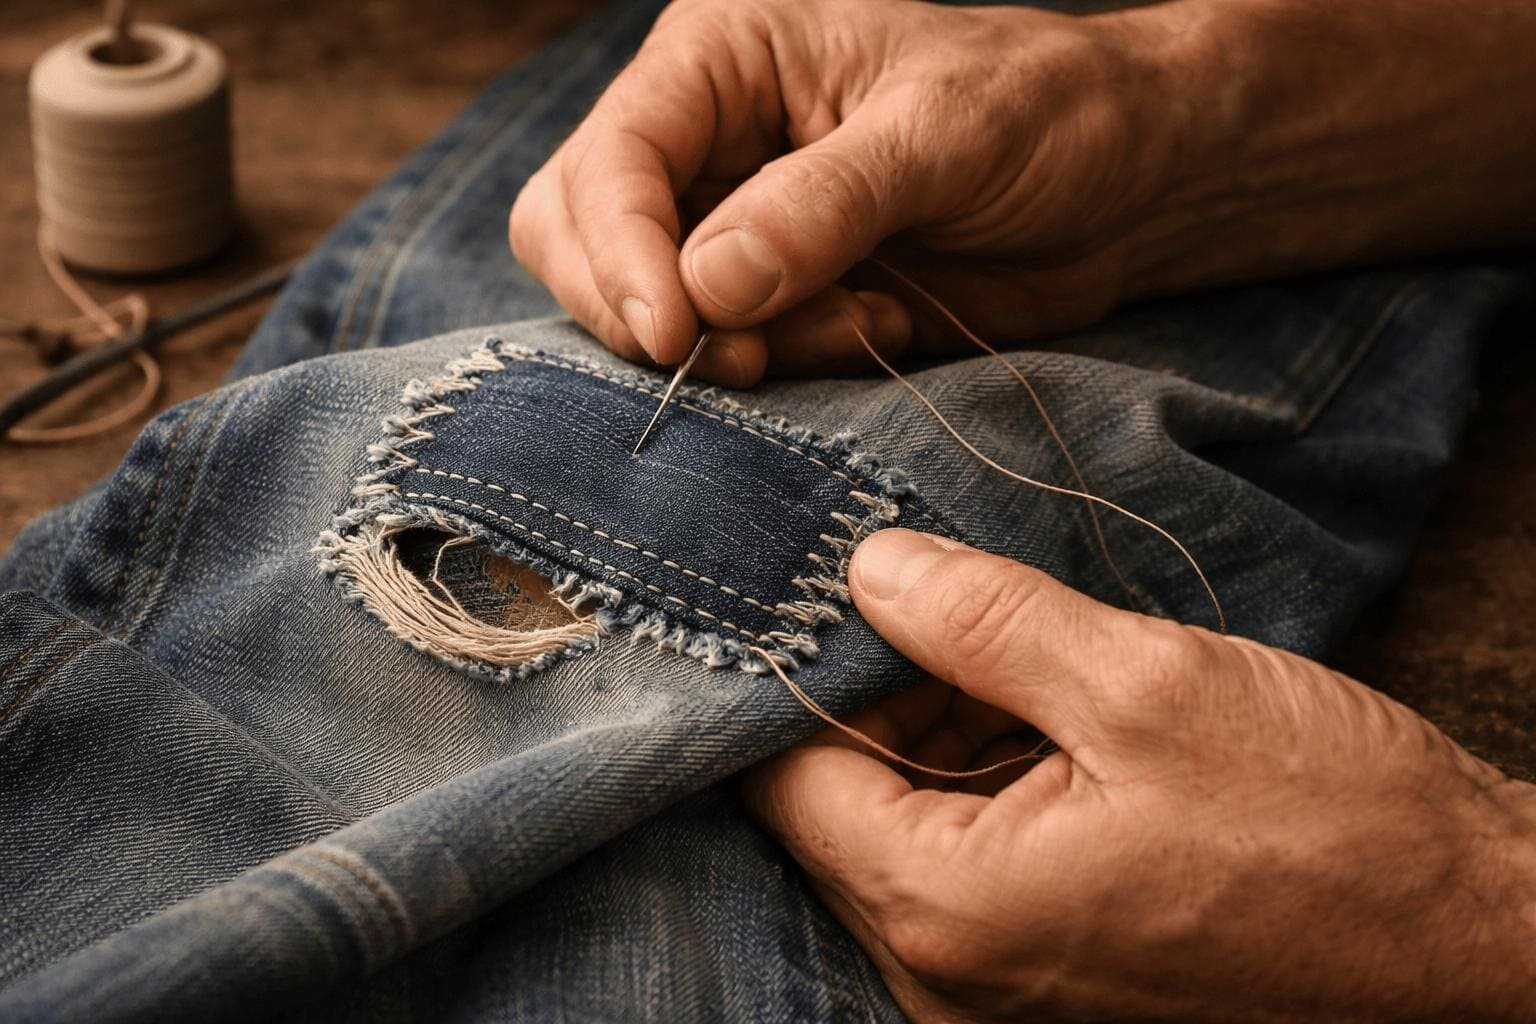
Sew the patch, or stitch the border of an iron-on one, on stretchy or delicate fabrics, uniforms washed often, high-friction spots such as cuffs and bag straps, and thick or padded items. Many people iron a patch on to position it, then stitch around the edge.
FAQs
How do you use iron-on patches?
Position the patch adhesive-side down, press through a cloth with firm pressure for the time in the instructions, then let it cool so the bond sets.
How long should you iron a patch on for?
For the time the patch maker gives. Pressing time depends on the adhesive, so no single duration suits every patch.
Can you iron a patch onto a jacket?
Yes, if the jacket fabric can tolerate the heat required by the patch. Check the care label first, especially for waterproof, padded or synthetic jackets. If ironing is unsuitable, sew the patch on.
Should you iron a patch from the front or back?
Usually, press from the front through a thin pressing cloth. Some patch manufacturers recommend additional pressing from the reverse, so follow their specific instructions.
Why does my iron-on patch come off after washing?
This can happen if the adhesive did not bond properly, the fabric was unsuitable or the garment was washed before the adhesive had set. Follow the patch maker’s washing guidance and reinforce the edges with stitching if needed.